A rice sensory bin is a bin that is filled with rice and other little objects that can be used in conjunction with the rice. It is used as a fun toddler activity.
I felt like making a rice sensory bin was a right of passage in my motherhood and I was so excited to make my first one.
The sensory bin quickly became a hit! It is a heavily supervised activity, so we keep it out of reach. But my heart swells when my little one points at his sensory bin and then immediately sits (because that’s always how we always play with it) and says please. It was easy to put together and has reaped tons of rewards!

This post may contain affiliate links. Please read my disclosure policy.
What Goes in a Sensory Bin
Storage Container: Think practically here. Choose something that has a lid so it can be easily stored. And look for something that has fairly high walls to help contain the rice. I started with a smaller-sized bin and as the child gets older, your bin can get bigger. When my little one first learned to play with a sensory bin I would put it on his lap to play over as it was easier for him to keep the rice in the bin this way. But as they get older and you expand your bins and objects, a 28QT/30L bin is a great option.
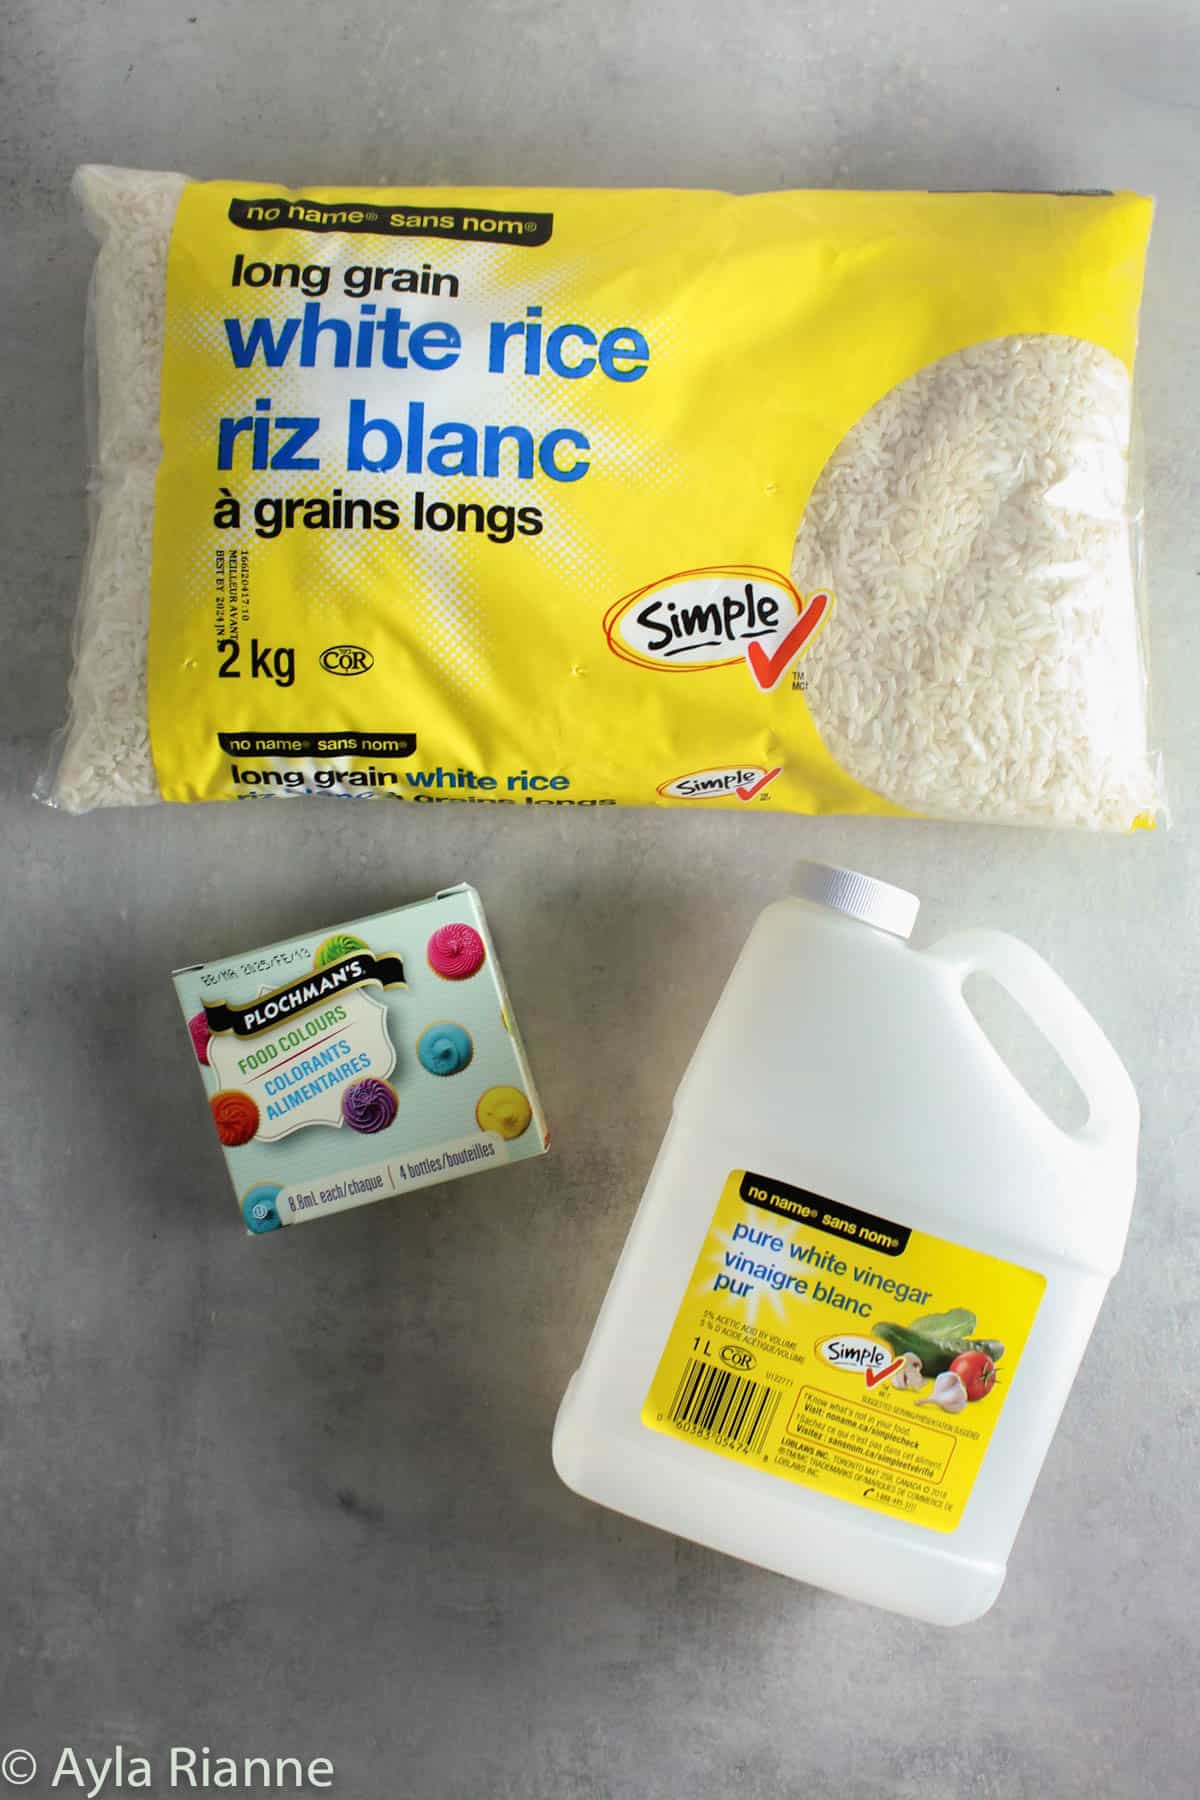
Rice: I use the cheapest rice I can find! Any will work here. Sensory bin rice that is white in color will show colors better when you die them.
Vinegar & Food Coloring: This is optional, but I do think it’s fun to die the rice! Chose the colors of your choice, anything under the rainbow! I just used basic food coloring. The vinegar helps keep the coloing from transferring off the rice (trust me on this.. Even when it’s wet your fingers won’t get stained). A bonus is the vinegar is food safe in case they put the rice in their mouth, but an even bigger bonus is they will only try it once because the vinegar makes it taste icky!
Objects: I hesitate to stay toys here because in our first sensory bin there were zero toys. Toys can absolutely be used in these bins, but really use your imagination on what to add.
**DISCLAIMER: ensure whatever you are using is age appropriate and not a choking hazard.
Some of my favorite ideas are:
- Fine Motor Skills: scoops, tweezers, little tongs
- Sensory Items: pom poms, pipe cleaners, shredded paper
- Toys: figurines, toy animals, dinosaurs, cars
- Other easy items: cut-up paper towel roll, funnel, measuring cups, wooden spoons, anything you find around the house and kitchen really!!
- Themed: another option for your sensory bin is to make each one a theme. I have created a sensory bin for each season. When the season is over I save the sensory bin rice and items and store them for the next year and bring out the next one. It keeps the sensory bin exciting and constantly new. And the rice and objects can be used for years and years.

How to Make a Sensory Bin
If you’re wondering how to dye rice for sensory bin, it is much simpler than it seems.
- Add rice, vinegar, and food coloring to a large Ziploc or container and shake until the vinegar and food coloring is evenly dispersed.
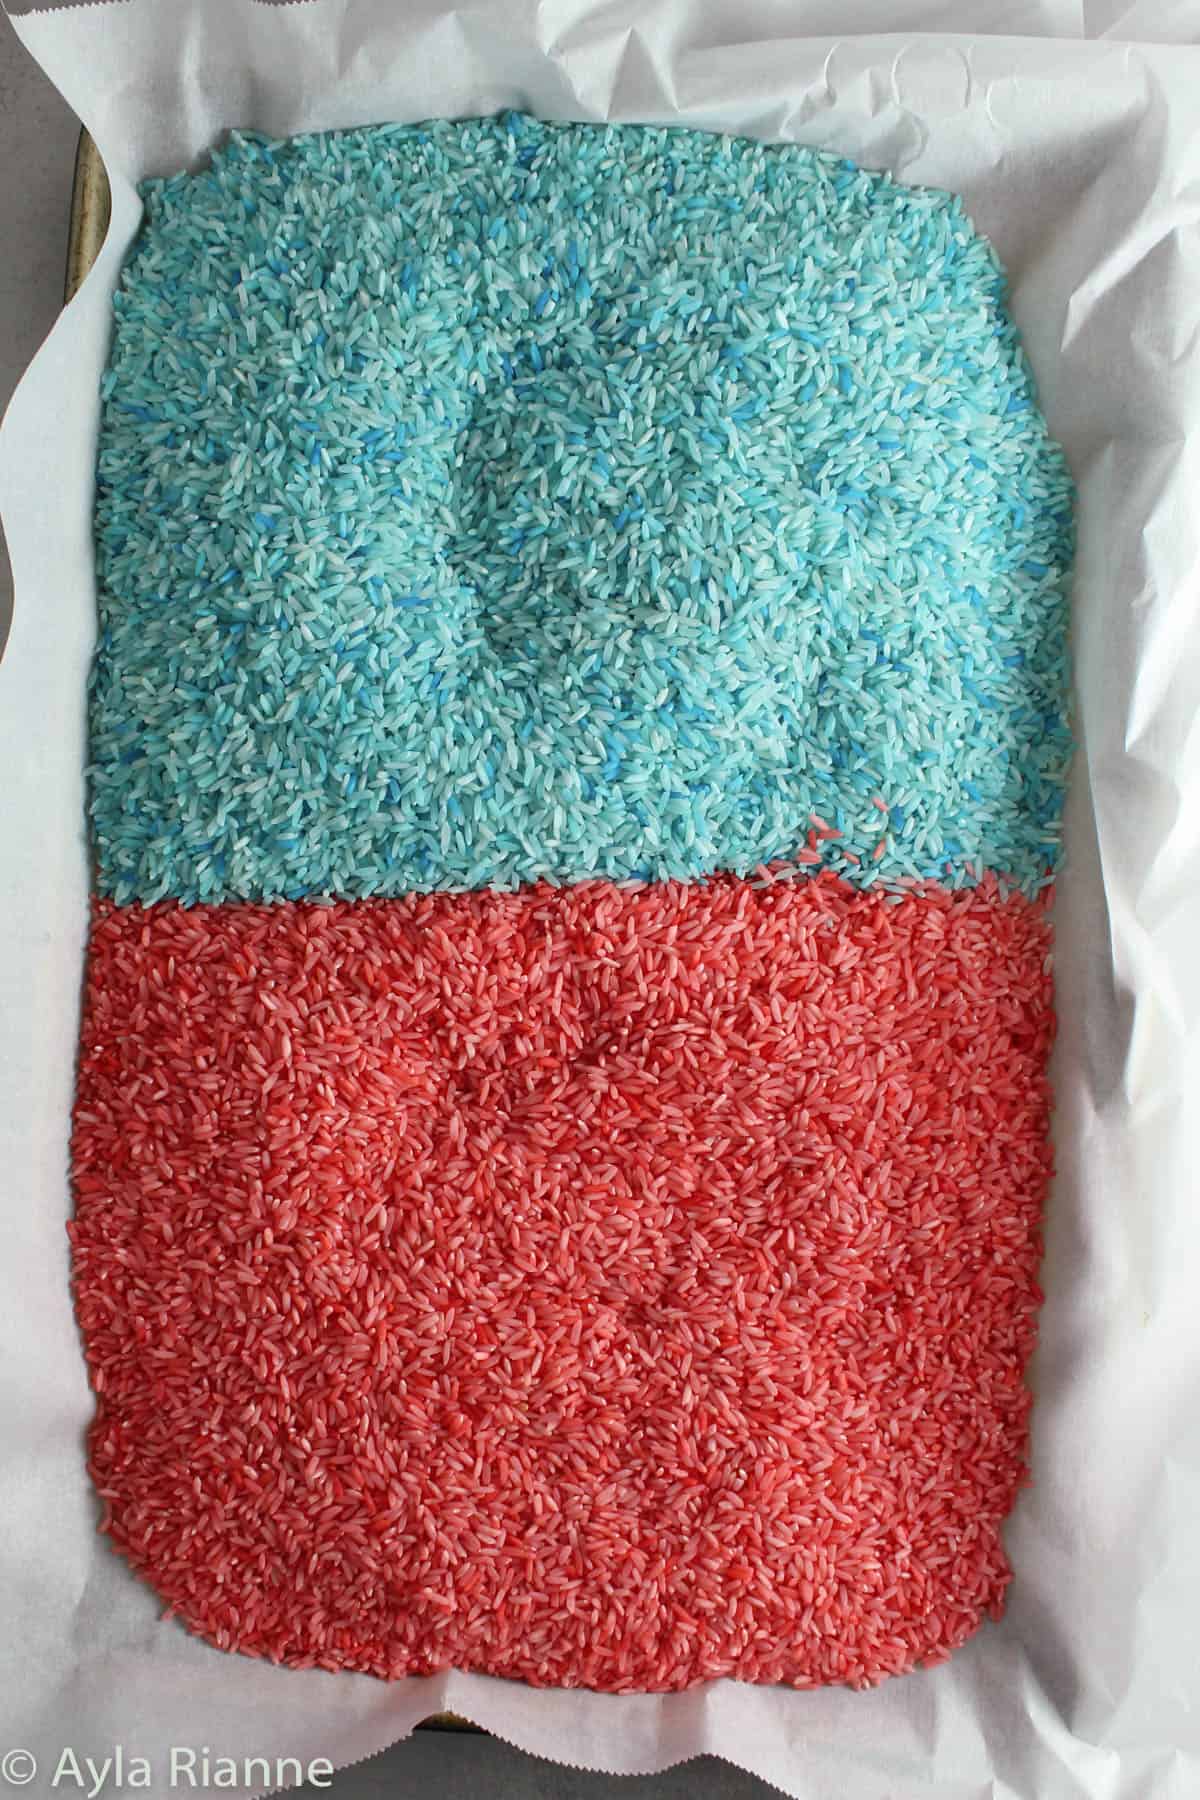
- Spread colored rice over a baking pan and allow to dry overnight.
- Add rice to a bin and add other toys/objects that can be used in the rice!
That’s it! It’s easy to make but lasts forever.
What are the Benefits to a Sensory Bin?
For starters when I introduced a sensory bin it was the longest my little one had sat still in longer than I can remember. It was a glorious 20 minutes, which at 15 months seemed like an eternity. It’s a fun new experience for them.
There are also lots of developmental benefits to a sensory bin:
- teaches fine and gross motor skills
- sensory exploration (even I think that rice running through my fingers feels cool)
- imaginative play
- self-control (not throwing the rice is hard!)
What Age Can You Use a Sensory Bin?
I made my little one’s first sensory bin for Easter when he was 15 months old. He was still quite young at this age and needed a lot of supervision in the beginning. I was watching to make sure he didn’t eat the rice or throw it everywhere. I would let him play freely and only intervene if he was about to eat it (and remind him not to) or if he started throwing the rice out of the bin.
Over time your child will need less supervision, however remember everything goes in phases. A child that wasn’t putting things in their mouth at 15 months might revisit that stage at 20 months. And a child who has learned to not throw the rice might go back to a throwing phase. So the bin may be something that needs more or less supervision at different stages!
As the child gets older you can change the sensory bin with their developmental abilities. In the beginning while your toddler doesn’t have fine motor sensory skills you can start with things like big scoops, toilet paper rolls, and large toys. As they get older you can work to things like tweezers and smaller scoops. The bins can meet the child where they are at.
What About the Mess?
The reality is a sensory bin will have some mess to it. And the sooner you let go of the notion you can control it the better.
Does rice get everywhere when we play with our sensory bin? Absolutely. But here the pros significantly outweigh the cons in my opinion. Particularly with a rice sensory bin, the dry rice is so easy to clean. It takes me 2 minutes to sweep and vacuum up the rice which I think is a small price to pay for the long amount of time it keeps him occupied.
Rice Sensory Bin
Equipment
- bin
- objects & toys
Ingredients
- rice
- white vinegar
- food coloring
Instructions
- Portion out the rice by how many colors you want to make.
- Add rice portion to a Ziploc or container and add 1 teaspoon of white vinegar and a few drops of food coloring. Shake the rice until the color is evenly dispersed.
- Spread the rice out on a baking sheet and allow to dry overnight.
- Add rice and desired objects/toys to bin.


Leave a Reply